Preguntas más frecuentes sobre los temas
Web antivirus SpIDer Gate
A connection failure occurs when I try to download a program. If I turn off SpIDer Gate, downloading continues without interruptions. What shall I do?
Try running SpIDer Gate with the -dbg: 2 parameter. To do this, click Start-> Run, type in the string provided below:
"C:\Program Files\DrWeb\spidergate.exe" –dbg:2
Click Ok.
If the problem persists, please contact the technical support service.
Can the firewall do Spider Gate's work?
No, SpIDer Gate is an HTTP-monitor. It performs the following tasks:
- Scan incoming and outgoing HTTP-traffic
- Intercept all HTTP-connections
- Filter Data
- Block loading infected pages automatically in any browser
- Scan archived files
- Protect from phishing and other dangerous online resources.
At the same time the firewall protects your PC or network from unauthorized access.
Thus, SpIDer Gate and the firewall must operate simultaneously on your computer to protect your system against viruses and network attacks.
Does SpIDer Gate depend on my browser?
No. SpIDer Gate operates independently of the programs that use the Internet (including browsers).
Does operation of SpIDer Gate slow down web surfing?
Dr.Web anti-virus engine is so fast that SpIDer Gate won’t delay loading of web-pages or slow-down file transfers.
How can I configure SpIDer Gate's verbose log?
For version 5.0:
- Increase log file size up to 5 Megabytes. Right-click on the Dr.Web icon in the notifications area, select SpIDer Gate–>Settings, in the next window proceed to the Log tab and modify the File size limit field value.
- Right-click on the Dr.Web icon in the notifications area and select SpIDer Gate ->Disable.
- Press Start–>Run, copy one of the strings below to the Run field and launch SpIDer Gate:
- "C:\Program Files\DrWeb\spidergate.exe" -dbg — enable verbose logging,
- "C:\Program Files\DrWeb\spidergate.exe" -dbg -dbg — debug logging.
Version 6.0
Right-click on the Dr.Web icon in the notifications area and select SpIDer Gate–>Settings from the list (if this item is unavailable, you should first switch to the Administrator mode). In the next window, open the Log section and use the slider to set the Extended mode. Press Ok to confirm the changes made.

Further, if required, you can reproduce the problem that must be analysed using the extended report. Please keep in mind that the Debug log is not always required because redundant information might complicate troubleshooting.
How can I disable the SpIDer Gate HTTP monitor?
It is not recommended to disable the SpIDer Gate HTTP monitor because nowadays a lot of malware is distributed via infected websites. There are many script viruses and exploits that can cause harm to the system before they are saved to your hard drive and, consequently, detected by the SpIDer Guard® file monitor.
If disabling HTTP monitor is still necessary, right-click on the Dr.Web icon and in the next menu, select SpIDer Gate –> Disable. When anti-virus self-protection screen appears, type digits from the picture into the string and click Disable SpIDer Gate.
How do I disable the HTTP-monitor SpIDer Gate?
Right-click on the Dr.Web icon in the system tray and select SpIDer Gate-> Disable in the context menu.
Caution! It is not recommended to disable the HTTP-monitor SpIDer Gate because nowadays a lot of malware is distributed via infected web sites. There are many script viruses and exploits that can harm the system before they are saved to your hard drive and, consequently, detected by the file monitor SpIDer Guard.
How do I update the HTTP-monitor SpIDer Gate?
Since SpIDer Gate utilizes the Dr.Web engine and databases, it is updated automatically along with other anti-virus modules.
How is SpIDer Gate updated?
As other modules of the program Dr.Web, SpIDer Gate features the same anti-virus engine and uses the same virus databases and therefore is updated along with other modules.
The SpIDer Gate icon is red. What shall I do?
The red icon indicates that SpIDer Gate is disabled. To activate it, right click on the Dr.Web icon in the notification area. In the menu, hover over the SpIDer Gate item and in the drop-down list select Enable.
If the icon remains red, you have two options:
- Application error – in this case you need to contact the Technical support service.
- Your license does not cover SpIDer Gate. In this case, it is recommended to remove the component: Go to Start-> Settings-> Control Panel-> Add and Remove Programs, find the Dr.Web anti-virus on the list, click Modify and follow the wizard's instructions to disable this component.
This script should be used to answer users’ questions.
One of SpIDer Gate’s tasks is to inform users that visiting some websites is dangerous or undesirable, for reasons that include the presence of “pirated” content. Dr.Web informs users about such websites because they are accompanied by malicious programs. Websites are included in the so-called Dr.Web “anti-piracy” database only on the basis of allegations made by content copyright holders. Each allegation is verified by Doctor Web’s lawyers before the decision is made to include the corresponding URL in the database. When users receive SpIDer Gate notifications concerning the undesirability of visiting pirated websites, they are getting objective, legally considered information about intellectual property infringement. Thus, Doctor Web helps users of its products:
- avoid becoming the victims of criminals, who for their own selfish ends use others’ works and trademarks, and the fruits of others’ intellectual labours, for illegal purposes;
- avoid potential criminal indictment for downloading, using, and further distributing pirated content;
- protect PCs against infections occurring as a result of downloading unlicensed content that is accompanied by malicious programs.
Users make their own decisions as to whether it is worth visiting the websites they have been notified about. The SpIDer Gate component can be enabled or disabled at their discretion.
What is the impact of SpIDer Gate on the web-surfing speed?
The unique Dr.Web anti-virus engine allows SpIDer Gate to scan traffic so quickly that you will never notice any delay when viewing web pages and downloading files from the Internet.
When I try to go to some sites, SpIDer Gate blocks them and displays the message "URL is known as a source of infection." How can I disable this feature?
If you believe that SpIDer Gate has mistakenly blocked a respected site, please let us know through the form on our website.
If you need to access a suspicious site, right click on the Dr.Web icon in the system tray and in the context menu select SpIDer Gate-> Settings. Clear the Block known source check box and press Ok.
Caution! Disabling this option is not recommended, because pages from all sites, including potentially dangerous ones will be loaded without a corresponding warning.
Where can I find SpIDer Gate's log?
SpIDer Gate's log file name is spidergate.log. The file is located in the C:\Documents and Settings\Your_user_name\DoctorWeb folder.
Which browsers support SpIDer Gate?
SpIDer Gate is compatible with all web-browsers.
Dr.Web anti-virus engine is so fast that SpIDer Gate won’t delay loading of web-pages or slow-down file transfers.
Why do I need the Speed balance option?
The Speed balance option allows you to adjust the amount of CPU time utilized to scan Internet traffic. The higher the scanning priority, the more CPU resources it will use, but it will help maintain high speed connectivity. Low priority results in low CPU load and slower network communication speed. Changing the default value usually is not required.
¿Dr.Web filtra el tráfico en caso de uso de VPN?
Una conexión segura (así mismo, con VPN) sirve para la protección contra intercepción de la información transferida. No es posible hacer que los servicios de inteligencia y los delincuentes no vean sus acciones, pero los medios de protección sí. Cualquier función usada para que los medios de protección tengan acceso al filtrado de la información transferida, enseguida habría sido disponible tanto para los malintencionados como para los servicios de inteligencia. Es por eso que si Vd. se protege de los servicios de inteligencia y de intercepción de su tráfico, automáticamente significa que este tráfico no puede ser escaneado por los medios de protección antivirus y los delincuentes pueden enviarle spam y programas nocivos.
Pero el usuario sigue protegido con Dr.Web — todo lo iniciado en el equipo será escaneado por el antivirus, solo después de haber penetrado en su equipo, y no antes.
¿Por qué Dr.Web Security Space casi devora el tráfico? El tráfico del componente del antivirus dwnetfilter supera todo el tráfico restante de Internet
En realidad el componente no consume tráfico. Lo escanea y el tráfico pasa a través del componente. El volumen del tráfico procesado depende del número de aplicaciones que se conectaban a la red, y del volumen de datos recibidos/enviados por la red.
Técnicamente todo pasa de forma siguiente:
Para asegurar el escaneo del tráfico el antivirus instala en el sistema protegido sus filtros del tráfico de Internet, como si sirviera de proxy. Y este filtro debe ser el primero, para que un programa malicioso no procese el tráfico primero. Por ejemplo, para ocultar su transferencia de datos. Los sistemas de supervisión de terceros también establecen los filtros de cálculo similares, pero procesan el tráfico ya después del filtro del antivirus, porque estos filtros siempre funcionan de forma consecutiva. Por lo tanto, el proceso dwnetfilter será visualizado como consumidor principal del tráfico.
dwnetfilter de forma autónoma no se conecta a Internet, solo intercepta las conexiones de otros.
Para evitar un efecto falso de consumo del tráfico por el componente dwnetfilter, el mismo debe ser excluido de la supervisión de Su programa de control del tráfico, si hay esta posibilidad. No tiene sentido supervisar el tráfico de aplicaciones por separado y su tráfico total a través del proxy (dwnetfilter)./p>
Cómo añadir un sitio web a excepciones Spider Gate para Windows
Haga clic sobre el icono Dr.Web en el área de notificación.
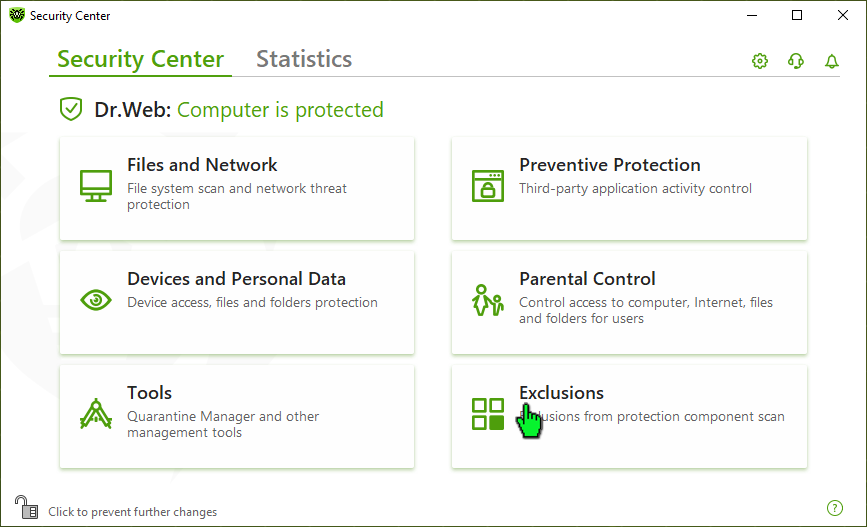
Abra el Centro de seguridad Dr.Web.

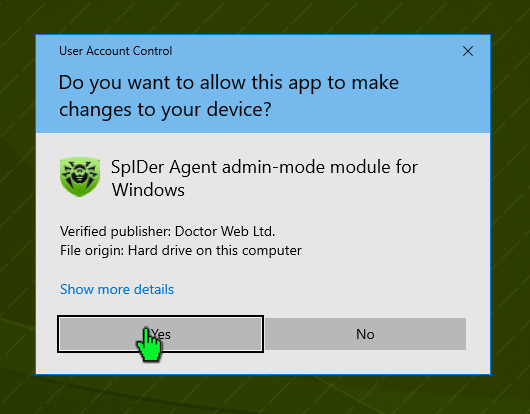
Para modificar la configuración Dr.Web se necesitan permisos de administrador Windows. Haga clic sobre el candado para proporcionarlos.

Responde de forma afirmativa a la pregunta sobre la mejora de permisos.
Haga clic sobre “Excepciones”.
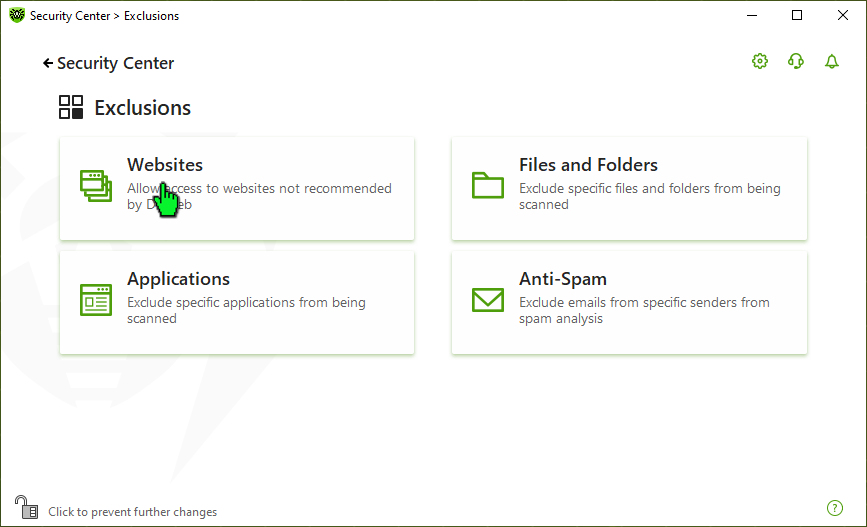
Haga clic sobre «Sitios web».
Añada las direcciones de sitios web el acceso a los cuales debe permitir. Una vez introducida la dirección del sitio web, haga clic sobre «+».
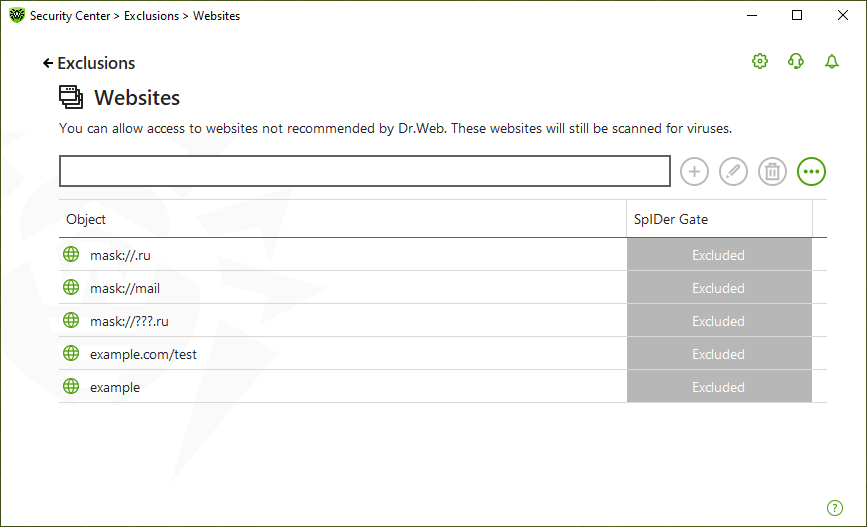
Para añadir un sitio web determinado a la lista, introduzca su dirección (por ejemplo, www.example.com). El acceso a todos los recursos ubicados en este sitio web será permitido.
Para permitir acceso a los sitios web en cuya dirección hay texto determinado, introduzca este texto en el campo. Ejemplo: en caso de introducir el texto example, el acceso a las direcciones example.com, example.test.com, test.com/example, test.example222.ru etc. será permitido;
Para permitir acceso al dominio determinado, indique el nombre del dominio con carácter «.». En este caso el acceso a todos los recursos de este dominio será permitido. En caso de usar el carácter «/» para indicar el dominio, la parte de la sublínea que está a la izquierda del carácter «/» se considerará nombre de dominio, y las partes a la derecha del carácter— una parte de la dirección permitida en este dominio. Ejemplo: en caso de introducir el texto example.com/test, se permitirán las direcciones como example.com/test11, template.example.com/test22 etc.;
Para añadir los sitios web determinados a excepciones, introduzca la máscara que los determina en el campo de introducción. Las máscaras se añaden en formato: mask://...
La máscara establece la parte común del nombre del objeto, así mismo:
- el carácter «*» sustituye cualquier secuencia de caracteres, posiblemente, vacía;
- el carácter «?» sustituye cualquier carácter, así mismo, vacío, pero solo uno.
Ejemplos:
mask://*.ru/ — se abrirán todos los sitios web en la zona.ru;
mask://mail — se abrirán todos los sitios web que contienen la palabra «mail»;
mask://???.ru/ — se abrirán todos los sitios web de la zona.ru, cuyos nombres consisten en tres caracteres o menos.
La línea introducida, al añadir a la lista, puede ser transformada de forma universal. Por ejemplo, la dirección http://www.example.com será transformada en la entrada www.example.com.
No hay coincidencias